Test facilities evaluate short-range 3-D imaging
This summer, a consensus-based standards-development process for 3-D imaging devices will begin. Such devices are becoming important measuring tools in the manufacturing, construction, and transportation sectors; numerous models, capable of digitally imaging objects from as small as pipe fittings to as large as an entire bridge, are on the market. A lack of standard tests to verify manufacturers’ performance specifications is inhibiting wider market acceptance of these devices, however.
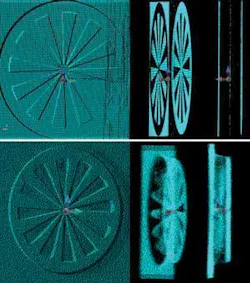
In response, researchers at the National Institute of Standards and Technology (NIST; Gaithersburg, MD) recently established an indoor artifact-based facility to create new test protocols and performance measures to evaluate such 3-D-imaging systems. Several prototype artifacts (for example, spheres, a stairway, and a slotted disc) are currently being tested for evaluating both instruments and software. The new facility is part of a larger effort to provide standard test protocols and associated facilities for evaluating and calibrating these instruments. In addition to the artifact-based facility, NIST also operates an indoor calibration facility with a 60 m range and is developing a separate 3-D facility so that manufacturers or research groups can send in instruments for spatial calibrations. Finally, NIST will establish an outdoor ranging facility for evaluating the performance of 3-D imaging systems up to 150 to 200 m. Contact Steven Phillips at [email protected].

