Optical surface accuracy refers to the difference between the actual shape and the desired shape of an optical surface. It is a crucial aspect of optical components and is typically measured in terms of fringes or waves that correspond to the laser wavelength used in the interferometer. And it is important to specify the expected surface accuracy to prevent extra wavefront distortions, which result in aberrations and degrade the system performance.
There are various methods to measure optical surface accuracy, including test plates, laser interferometers, laser interferometers with computer-generated holograms (CGHs), contact profilometers, and coordinate measuring instruments.
Measuring Optical Surface Accuracy
The test plate method, which was used before interferometers, is placing a transparent plate under test into close contact with a polished surface to verify its flatness. Interference fringes are observed when monochromatic light is shone upon the two surfaces, and accuracy can be determined by counting the fringes and examining their irregularity. The number of rings indicates the difference in radius between the two surfaces, which is known as power. The width between each fringe of the same color, either dark or black, indicates a height difference of half a wavelength of the light used. Those rings might exhibit distortions, meaning non-uniformity on the surface, which can be regarded as irregularity.
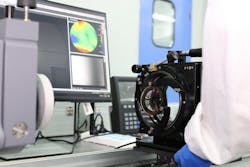
Laser interferometers use advanced algorithms to make precise measurements of optical surface accuracy by dividing a beam of light into two beams that travel unequal paths and interfere with each other. When the two beams recombine together, the observed intensity varies based on the amplitude and phase of these beams. The light interference creates a pattern of light and dark bands known as interference fringes, which are used to determine the power error and irregularity of the optical surface under test.
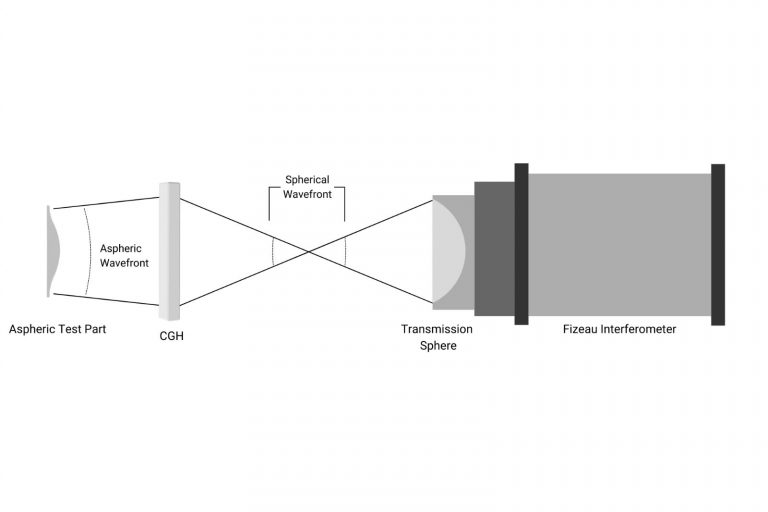
CGHs, which act as null lenses, can be inserted into the test arm of an interferometer to test complex surfaces such as aspheric and freeform shapes. CGHs are commonly used in combination with a laser interferometer to control the surface accuracy of aspheric lenses during the polishing process.
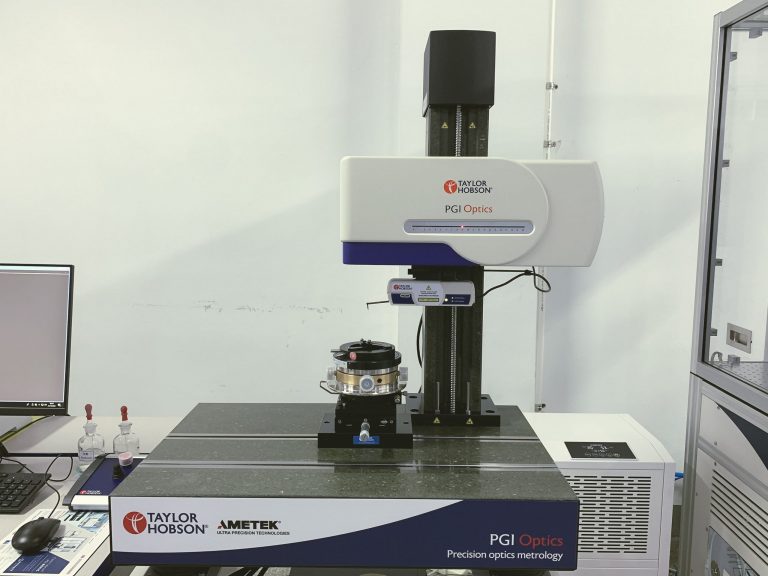
Contact profilometry is a common and low-cost method for measuring aspheric surface accuracy that involves capturing the sag values of the test surface and comparing them to the nominal surface shape as a mechanical stylus travels across the element.
Taylor Hobson PGI Optics Profilometer
Coordinate measuring instruments measure the topography of optical surfaces by scanning and detecting the discrete points on the part surface. Surface accuracy is determined by comparing the surface test data with the nominal surface shape using advanced data analysis software.
Please contact us if you’d like to schedule a free consultation or request for a quote on your next project.


